Understanding Finish Trim: Types, Styles, and Applications
Defining Finish Trim and Its Role in Interior Design
Finish trim, often referred to as interior trim or molding, encompasses the decorative and functional components installed along walls, ceilings, doors, and windows to enhance aesthetic appeal and provide a polished, cohesive look to interior spaces. It acts as a transitional element that bridges surfaces, hides construction imperfections, and adds architectural character. Whether it’s baseboards that create a seamless transition from wall to floor or crown molding that adds elegance to ceilings, finish trim plays a vital role in defining a room’s style and finishing touches.
Finish trim not only elevates interior decor but also safeguards edges and provides a base for paint, stain, or other finishes that reflect the homeowner’s taste and the overall design concept. This critical component balances functionality with decorative appeal, making it essential for both professional builders and DIY enthusiasts aiming for a refined, durable, and visually appealing interior.
In interior design, finish trim acts as the finishing layer that unites various elements of a space. Its strategic placement emphasizes architectural features and adds depth, dimension, and character. Properly chosen and installed finish trim can dramatically improve the ambiance and perceived quality of a room, making it a worthwhile investment in your home or commercial space.
Popular Styles of Finish Trim and Their Uses
The selection of finish trim styles intensifies a room’s character and ties the overall design theme together. Different styles serve specific purposes, from functional to highly decorative. The most common styles include:
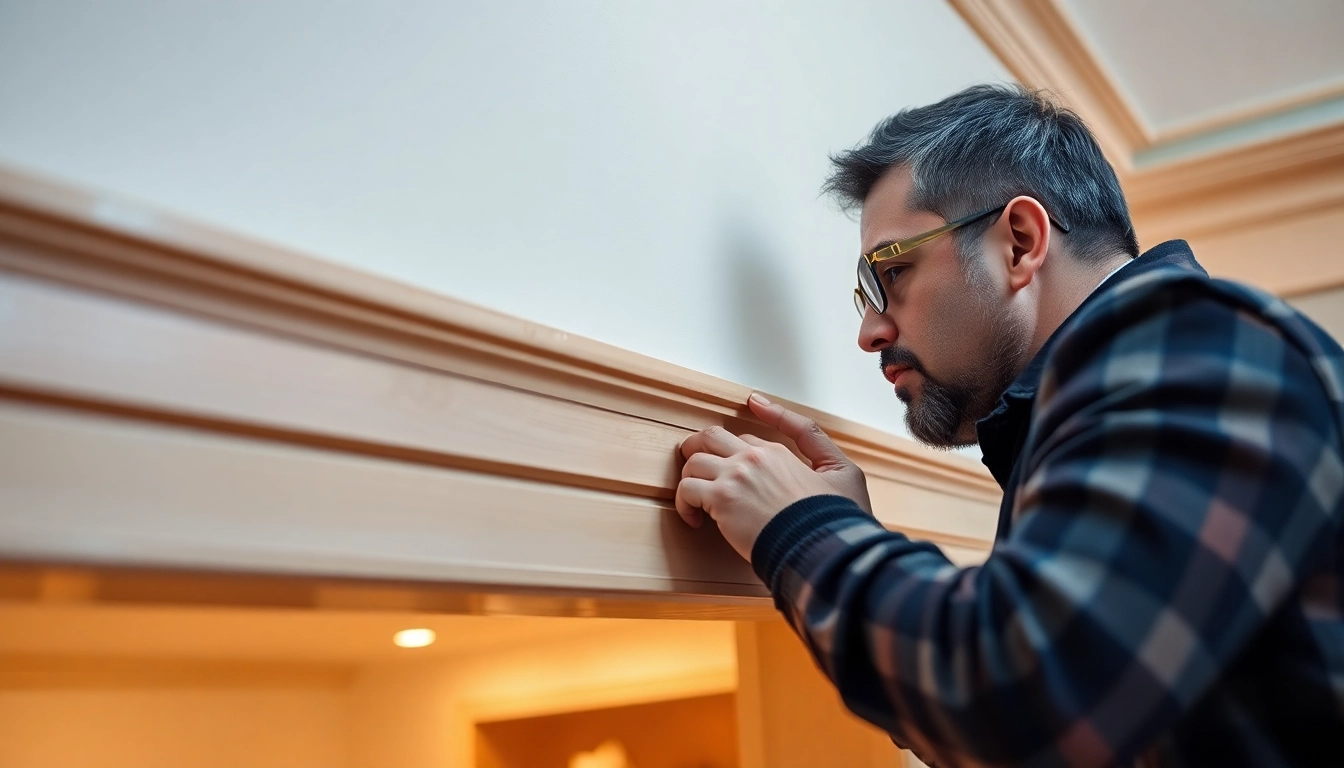
- Baseboards: Located at the junction of the wall and floor, baseboards cover the joint and any rough edges from construction. They come in various profiles, from simple and modern to ornate, and help protect walls from scuffs and kicks.
- Crown Molding: Installed at the intersection of walls and ceilings, crown molding adds elegance and height perception. It is available in numerous styles, from subtle to highly decorative.
- Casing: Surrounds door and window openings, providing a finished look and hiding gaps between the frame and drywall. Casings can range from flat and minimal to intricate designs.
- Chair Rail: A horizontal trim installed along the wall’s height, often used to protect walls from furniture damage and add visual interest.
- Shiplap and Paneling: These styles provide texture and traditional charm, often used in rustic or farmhouse interiors.
Beyond standard profiles, trim styles can also vary based on their material, finish, and detailed design features. For example, decorative wood trims with intricate carvings add historical or classical ambiance, whereas simple MDF or PVC trims are favored for simple or modern aesthetics.
The choice of style should reflect the room’s function, desired look, and maintenance requirements. For example, a high-traffic hallway benefits from durable, easy-to-clean materials and simpler profiles, while a formal living room may feature more elaborate, ornate moldings.
Material Choices for Durable and Attractive Finish Trim
The material selection for finish trim significantly affects the longevity, appearance, and installation ease. Common materials include:
- Wood: Traditional and versatile, solid wood offers natural beauty, stainability, and durability. Popular species like oak, pine, maple, and cherry provide different grain patterns and finishes. When choosing wood trim, consider quality and whether the species suits the environment, especially in humid regions.
- MDF (Medium-Density Fiberboard): An economical, smooth alternative to wood, MDF is easy to paint and resist warping in dry conditions. Ideal for painted finishes and intricate profiles, it is less suitable for wet areas.
- PVC/Vinyl: Waterproof and low-maintenance, vinyl trim is perfect for bathrooms, kitchens, or exterior applications that require moisture resistance. Modern PVC trims mimic wood grain textures and are quick to install.
- Composite Materials: Combining wood fibers and plastic, composites offer durability, resistance to pests and moisture, and a variety of finishes, making them suitable for high-use areas.
- Plastic & Polyurethane: Lightweight and easily moldable, these materials excel in creating intricate profiles and detailed designs, often pre-primed for straightforward painting.
Selecting the right material involves assessing environmental conditions, budget constraints, and the desired aesthetic. For example, hardwood trims provide a timeless, high-end look, while MDF can suffice for primed painted applications in interior spaces.
Durability is essential; so consider wear resistance, susceptibility to moisture, and ease of maintenance. When in doubt, consulting with a professional ensures you select materials that will stand the test of time and meet your design goals.
Step-by-Step Guide to Installing Finish Trim
Preparing Surfaces and Tools for a Seamless Finish
Proper preparation is the foundation of a flawless finish trim installation. Start by assessing the surfaces; walls and ceilings must be smooth and free of dust, grease, or uneven patches. Sand rough areas thoroughly, and patch any holes or imperfections with appropriate filler. Clean surfaces with a damp cloth and let dry before proceeding.
Essential tools include a miter saw or miter box, tape measure, level, nail gun or hammer, stud finder, caulking gun, sanding block, painter’s putty, and high-quality primer and paint. Accessories like clamps, spacers, and square guides facilitate precise cuts and fitting.
Careful planning of measurements and cuts minimizes waste and ensures the trim fits perfectly, reducing the need for adjustments later.
Measuring, Cutting, and Fitting Techniques
Accuracy in measuring is vital. Use a tape measure and mark cut lines with a pencil, noting the angles required for corners and miter joints. For inside corners, miter angles are typically 45 degrees; for outside corners, often 45 or 135 degrees, depending on the joint.
Cutting must be precise; employing a sharp miter saw ensures clean, accurate cuts. Practice making trial cuts on scrap pieces to verify angles and fit before cutting the actual trim.
Fitting involves dry-fitting each piece to verify alignment and joint fit. Use shims for slight adjustments and ensure level and plumb lines before fixing.
Securing and Finishing Trim for a Professional Look
After confirming proper fit, secure the trim with finishing nails or a nail gun, spacing nails approximately 16 inches apart. Countersink nails slightly below the surface to prepare for filling. Use a nail set to avoid damaging the trim’s surface.
Fill nail holes with a quality wood filler or spackle, then sand smooth once dry. Seal gaps and seams with painter’s caulk, smoothing for a seamless appearance.
Final steps include priming and painting or staining. Always follow the manufacturer’s instructions for application and drying times. Multiple coats may be necessary for an even, durable finish that enhances the trim’s appearance.
Tips for Achieving a High-Quality Finish on Trim
Surface Preparation and Adhesive Selection
High-quality finishes start with proper surface prep. Ensure surfaces are smooth, clean, and dry. For painted trim, use a high-quality primer to promote adhesion and block stains or knots. Choose appropriate adhesive if necessary for intricate profiles or securing delicate trims.
When installing, use adhesives compatible with both the trim material and wall surface. This helps reduce movement and gaps, especially in areas prone to expansion or contraction.
Sanding, Caulking, and Painting for Perfect Results
Sanding is crucial for smooth surfaces: use fine grit sandpaper (220 grit recommended). Sand after filling nail holes or seams and before painting. Be gentle to avoid damaging the intricate details.
Apply high-quality, paintable caulk at seams, corners, and joints for a professional look. Smooth the caulk with a damp finger or caulking tool for neatness and ensure it seals gaps effectively.
When painting, choose a sheen appropriate for trim—semigloss or satin are preferred for their durability and ease of cleaning. Use high-quality brushes or rollers to achieve smooth, even coats, applying multiple thin layers rather than a single thick one.
Common Mistakes to Avoid During Installation
- Measuring inaccuracies leading to gaps or misaligned joints.
- Using dull blades or improper tools causing rough cuts or splintering.
- Overdriving nails, which damages trim or causes splitting.
- Neglecting surface prep, leading to poor adhesion or paint issues.
- Ignoring the importance of caulking and sanding, resulting in visible seams and rough edges.
Attention to detail and patience are key. Ensuring precise measurements, sharp tools, and proper finishing touches result in a stunning, long-lasting finish trim installation.
Maintenance and Enhancing Your Finished Trim
Cleaning and Periodic Repairs
Maintaining your finish trim is straightforward. Regular dusting with a soft cloth prevents buildup. For stains or scuffs, gently clean with a mild soap solution. Avoid abrasive cleaners that can damage paint or finish.
Monitor for chipped paint, cracks, or damage. Promptly repair with touch-up paint, sanding, and reapplication as needed. Keeping trims in pristine condition preserves the room’s aesthetic appeal.
Color and Finish Options to Match Your Decor
While white or neutral tones are classic, finish trim is available in a wide spectrum of colors and finishes. Stains and clear coats enhance natural wood grains, while paints can complement or contrast walls for dramatic effects.
Modern trends favor matte, satin, or high-gloss finishes depending on their decorative role. Keep consistency across trim, doors, and cabinetry for a unified look.
Latest Trends in Interior Finish Trim Design
Contemporary interiors favor clean-lined, simple profiles with minimal detailing. Meanwhile, traditional or vintage styles may incorporate ornate molds, intricate carvings, and richer materials. Custom-designed trims, contrasting colors, and mixed materials are becoming increasingly popular for personalized spaces.
Technology also influences trends—pre-primed, pre-finished, and eco-friendly materials facilitate easier installation and sustainable choices.
Performance Metrics and Proven Techniques for Long-Lasting Finish Trim
Measuring Durability and Wear Resistance
The longevity of finish trim depends on the material, environmental conditions, and installation quality. Key metrics include resistance to moisture, scratches, dents, and UV exposure. Test results from manufacturers often provide a gauge of a product’s durability.
For high-traffic or moisture-prone areas, selecting water-resistant materials like PVC and using protective finishes can extend lifespan significantly.
Best Practices for Longevity and Aesthetic Preservation
Regular cleaning, prompt repairs, and protective coatings help maintain the appearance. Avoid harsh chemical cleaners and abrasive tools. Applying high-quality paint or stain specifically designed for trim maximizes resistance to wear.
During installation, precise measuring, secure fastening, and proper surface preparation are the foundation for durability. Employing advanced tools like laser levels and pneumatic nailers ensures accuracy and consistency.
Innovative Tools and Technologies for Precision Finish Trim Work
Technological advancements have revolutionized finish carpentry. Laser-guided measurement tools improve accuracy, while powered miter saws with digital readouts reduce errors. Nail guns and pneumatic staplers speed up installation while maintaining precision.
Digital design software and templating allow for custom profiles and experimental layouts before physical work begins, minimizing wastage and errors. These innovations enable both DIYers and professionals to achieve flawless results efficiently.
Additionally, eco-friendly and low-VOC paints and finishes, along with sustainable material options, support environmentally conscious renovation practices.


